


| |
 |
Angle Calculator™
How to use: The Basic
MC= Miter cut angle, P=Plumb cut angle, W=Whole angle,
S=Seat cut angle & R=Right angle
View a video demo
|
|
|
|
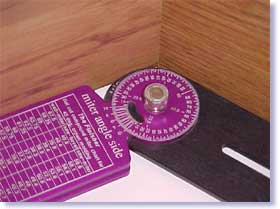
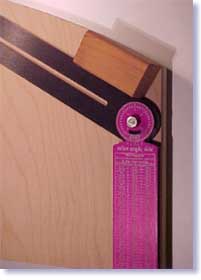
- How to find Miter Angles:
Open tool and fit into,
or around the outside of the surfaces being checked.
Read the dial on the side of the tool marked (miter
angle side), with index mark, marked with M set
the saw to that angle, and make your cuts.
|
|
|
|
|
|
|
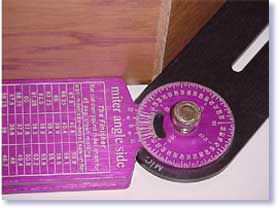
- How to find Miter
Angles on an Elliptical Arch:
On an elliptical arch, be sure that at least the first
several inches of the tool, closest to the miter
intersection, are touching the surfaces being checked.
Depending on how tight the arch is, you may need to use
a small block to hold the tool out enough to fit the
area.
|
|
|
|
|
|
|
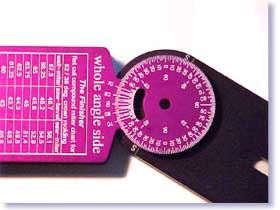
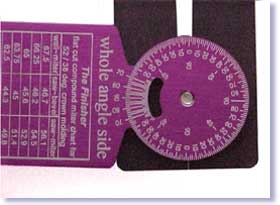
- How to find Whole Angles:
Open the tool and fit into, or around the outside of the
surfaces being checked. Read the dial on the side of the
tool marked (whole angle side) using the index mark,
marked with a P, this is the overall wall angle.
|
|
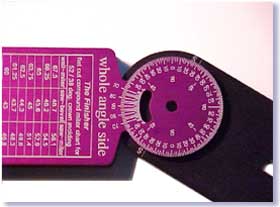
- How to find Right Angles:
Open the tool and fit into, or around the outside of the
surfaces being checked. Read the dial on the side of the
tool marked (whole angle side) using the index mark,
marked with an S, this is the right angle to the
wall angle.
|
|
- How to find roof rafter Plumb
Angles:
Open the tool and fit into, or around the outside of the
surfaces being checked. Read the dial on the side of the
tool marked (whole angle side) using the index mark,
marked with a P, this is the plumb cut angle for
the roof rafters of this angle.
|
|
|
|
|
|
|
- How to find roof rafter Seat
Angles:
Open the tool and fit into, or around the outside of the
surfaces being checked. Read the dial on the side of the
tool marked (whole angle side) using the index mark,
marked with an S, this is the seat angle for roof
rafters of this angle.
|
|
|

|
|
|
|
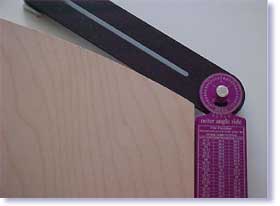
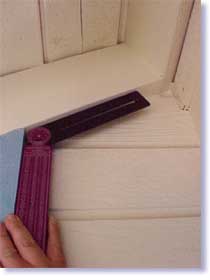
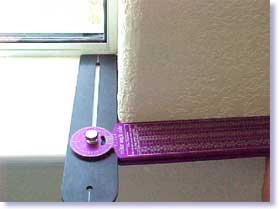
- How to check wall angles for
shallow areas like window stools:
Use the slotted end of the blade, adjust the blade to
fit the area, tighten thumbscrew and mark the material,
or to read this degree, transfer a mark onto scrap
material. Loosen the thumbscrew and slide blade to pivot
around the square end of the blade, then using the index
mark, read the degree.
|
|
|
 |
|
|
|
When
Re-Installing the Inner Blade:
Be sure to re-install the inner blade so that the index mark,
marked with an M is seen on the miter angle side of the
tool, and the P & S index marks are read on
the whole angle side of the tool. |
|
|
|
|
|
|
|